5. Program Code
The program is based on Wolle schreibfauls library ESP32-audioI2S
and is an adaption of his example code Simple_WiFi_Radio.
Check out his examples to leran more.
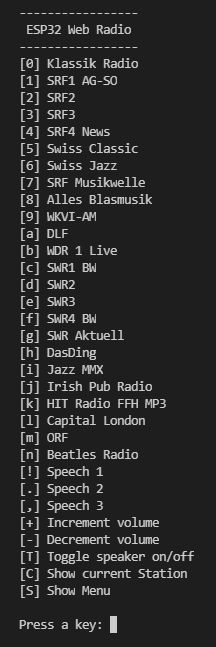
The program excerpt shows only the setup() routine, the audio initialization
and the main loop, in which the MP3 stream of the radio station is played and
the menu is handled.
  /**
   * Initialize the audio subsystem
   */
  void initAudio()
  {
    audio.setPinout(I2S_BCLK, I2S_LRC, I2S_DOUT);
    audio.setVolume(currentVolume); // 0...21
    audio.connecttohost(currentUrl);
  }

  void setup()
  {
    Serial.begin(115200);
    initWiFi();
    initAudio();
  }

  void loop()
  {
    static uint32_t msPrevious = millis();
    static bool done = false;

    audio.loop();

    // show menu once after all status and info messages have been displayed
    if (!done && waitIsOver(msPrevious, 5000)) { done = true; showMenu(); }

    // handle keystrokes and the menu
    if (Serial.available()) doMenu();
  }
Interested? Please download the entire program code. The zip-file
contains the complete PlatformIO project.
My programming environment is not the native Arduino™ IDE
but PlatformIO™ on top of
Microsoft's Visual Studio Code™.
This combination offers many advantages and allows a much better structuring of the code into
several modules especially when we adopt
The Object Oriented way.
